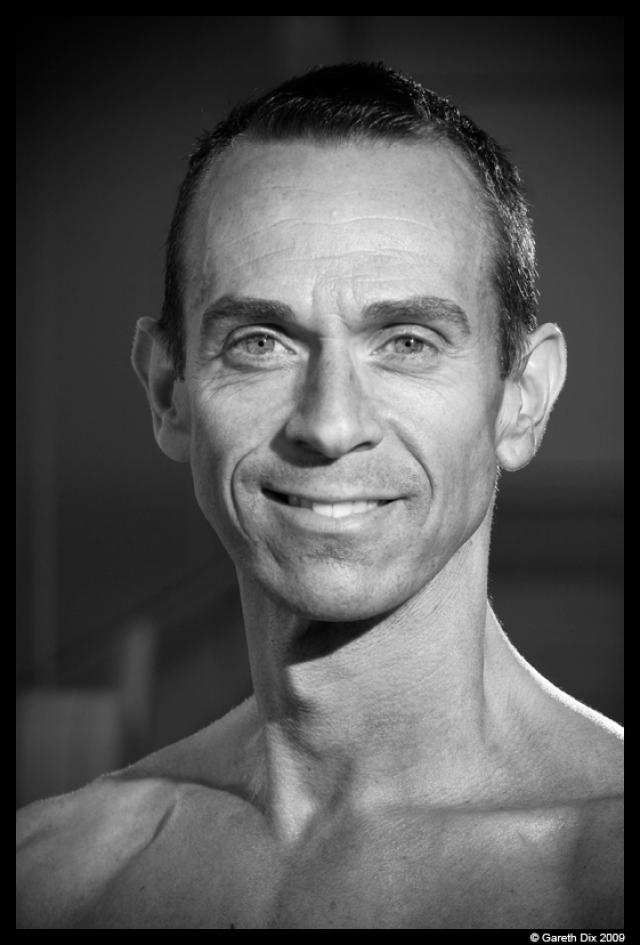
Image shows: How it all started and why
Image ID: 211
Click here for more information
Image showing How it all started and why courtesy of